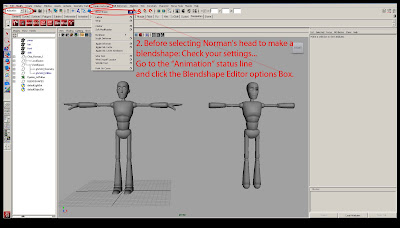
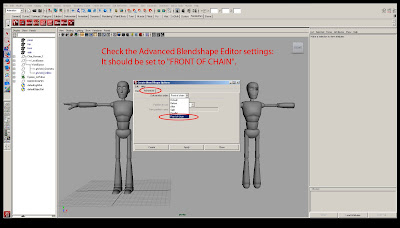
Norman Mod Workshop Tutorial
Part 2
Starting With The Head...Part 2
Tips and Ticks originally taught to the AAU Animation Club by Joshua Slice in a live demonstration on campus, 10-03-2009, is now in a SUPER EASY written tutorial by Vaughan Weigert. Enjoy!
THE HEAD:
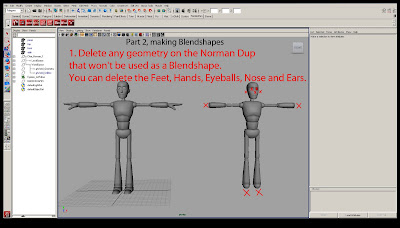
TIP: Have one duplicate (blendshape) head only. UNLESS, you want to make an extra blendshape head(s) for extreme facial animation poses, but that is something you should do LATER, when your basic norman mod is done and you're already making progress on your shot.
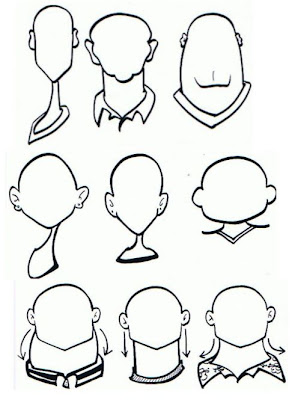
0. Have a reference...
1. Work in front and side view primarily. It's best to make BROAD SHAPE ADJUSTMENTS on the head FIRST, with the LATTICE tool (not vert by vert choices).
Recommended Lattice Tool Settings:
Lattice: 8x8x8
Local divisions at 2x2x2
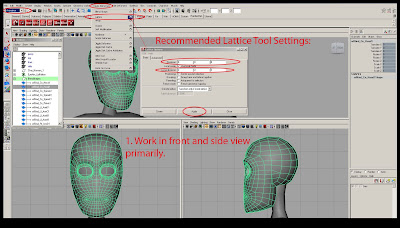 *Make sure you can see the Lattice you created in all windows: under SHOW, make sure DEFORMERS visibility is checked on.
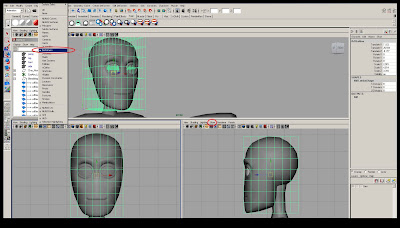 2. Select the blendshape head geo and in the Animation MENU, select CREATE DEFORMERS > LATTICE and move the lattice points to adjust the head shape.
If further modification is desired, and you need more or different points on the head to pull/ push,
then select the blendshape head and EDIT> DELETE BY TYPE> HISTORY on the blendshape head. The current lattice tool will be deleted from it.
The changes in shape you made will remain.
Select the head blendshape geo and in the Animation MENU, select CREATE DEFORMERS > LATTICE.
A NEW lattice will appear on your mesh which you can make further adjustments to, with a clean lattice shape.
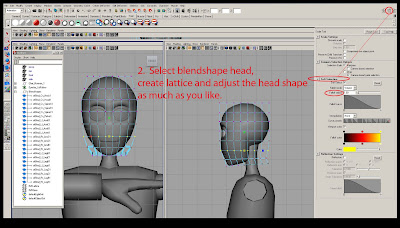 While using the LATTICE TOOL: scale tool --> go to Channel Box Settings --> play with Soft select "Fall off" to get more or less global squash & stretch.
*HEAD MODIFICATION TIPS
- Don't move the eye lid geometry too much - you want it to hug the eyeballs.
- Same with the mouth. So when you use SOFT SELECT, make sure your soft select grabs the WHOLE mouth shape or eye socket, if you move it around.
Image Plane Setup: Setup your reference to model from. 5 steps and some tips.
1. Select Camera View
2. Create image plane.
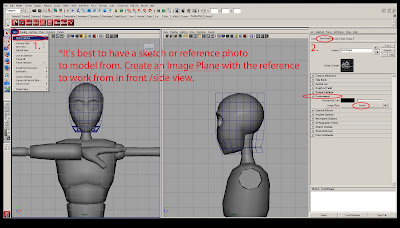 Image Plane Setup:
3. Source file into Image plane.
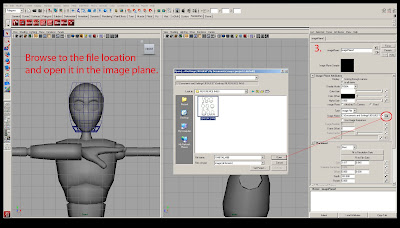 Image Plane Setup:
Check: Cameras must be visible.
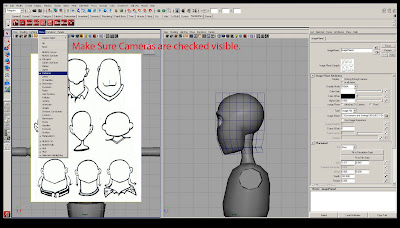 Image Plane Setup:
4. Rename Image Plane.
5. Adjust settings and movement options to line up the image with character's head size.
6. (TIP) "X-Ray" mesh view of the character can help you line up the reference to your model.
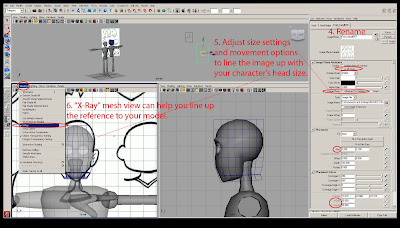 Image Plane Setup:
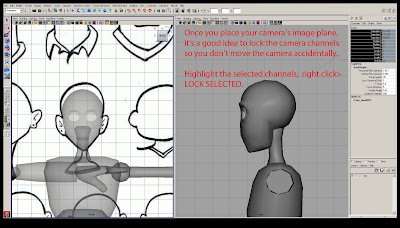
TIP: Lock your camera view.
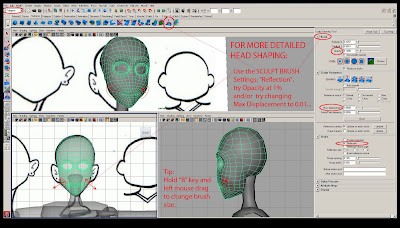
 The Lattice tool is best for creating basic form/shape. The Sculpt brush for smoothing it out.
FOR MORE DETAILED HEAD SHAPING: use the SCULPT BRUSH -->settings "Reflection". Opacity at 1%.
 Next, part three of the Norman Modification Workshop, "The Mouth"...


